Sourdough Borodinski Rye/ Borodinskiye Chleb

BorodinskiYield: Two 25 oz. (700g.) loaves

Borodinski, with its moist, open crumb and assertive coriander flavor, is arguably Russia’s best-known and best-loved rye bread. This wasn’t always so, however: in the 1920s and 1930s, Borodinski could only be had in Moscow, and those who had the choice preferred those made by Latvian bakers. With the great push toward industrialization in the 1930s, Soviet factory bakeries opened across Russia and introduced the bread nationwide.

Numerous recipes exist, some yeast-leavened, others built on a sponge. Some specify pan loaves, others hearth loaves. All, however, preserve the 80%-20% rye-wheat ratio and all use a scald containing roasted rye malt.

This recipe emphasizes the interplay between sour and coriander-infused sweetness. It takes time – nearly a full 24 hours – to bring together, but the results are well worth it.

Sponge:


Volume

Ingredient

Ounces

Grams

Baker’s
Percentage

⅓ cup Rye sour 2.10 60 8%
2 cups Medium rye flour 8.80 250 35%
1¾ cups Water 14.65 415 58%


Scald:

¼ cup Malted rye (available at home brewing supply stores) 1.25 35 5%
1 Tbs. Coriander seed 0.15 4 1%
¾ cup Coarse rye meal 4.05 115 16%
1¼ cups Boiling water 10.60 300 42%


Dough:

1⅔ cups Medium rye flour 7.40 210 29%
1 cup First clear or high-gluten flour, unsifted 4.95 140 20%
2 Tbs Unsulphured molasses 1.40 40 6%
1 Tbs Red rye malt (see Step 2.) 0.35 10 1%
1⅔ tsp Table salt 0.35 10 1%
1-2 tsp Coriander seed for garnish 0.05 2


  1. Mix together the sponge ingredients until well blended, cover loosely and let stand overnight.
  2. In a frying pan, roast the malted rye over medium heat until it turns a deep rose pink, about 3 minutes, and pulverize the red malt and coriander seed in a spice grinder or mortar and pestle. Add to the rye meal and boiling water, mix until smooth, cover with plastic wrap and let stand overnight.
  3. The next day, combine the sponge and scald in the bowl of a stand mixer, cover with plastic wrap and set aside to ferment for 5-6 hours, until the mass has roughly doubled in bulk. Add the dough ingredients, use the flat beater  to mix at low-medium (KA 3-4) speed until you have a soft, smooth dough the color of dark coffee. Cover and let stand 1 hour.
  4. Carefully spoon the dough into two well-greased 8½” x 4½” (21 cm x 11 cm) loaf pans. Use wet hands to distribute the dough evenly and smooth the tops. Add 1 Tbs/15 ml. of water to each pan to keep the dough moist, cover with plastic wrap and proof in a warm place until the tops of the loaves show holes, about 2 hours. Garnish with whole or coarsely crushed coriander seeds.
  5. Preheat your oven to 550°F/290°C, with the baking surface in the middle and a steam pan on a lower shelf. About 10 minutes before bake time, add 1 cup/225 ml. of boiling water to the steam pan, using a silicon oven mitt to avoid burns.
  6. Place the loaves in the oven and replenish the steam pan with another 1 cup/225 ml. of boiling water. After 10 minutes, reduce temp to 350°F/175°C and cover the loaves with aluminum foil. Bake an additional 50-60 minutes, remove the steam pan and unpan the loaves. Return them to the oven for 10-15 minutes to firm the crust. Let cool thoroughly before slicing.

Dresden-Style Christmas Stollen/Weihnachtsstollen Dresdner Art

stollen-crumbEurope has a long tradition of sweet breads fortified with whatever sweeteners and enrichments were on hand — usually honey or sugar, butter, eggs, nuts and/or dried fruit. These sweet breads represented both a change from the stultifying routine of a diet that, for most people, consisted of more than 80% bread and gruel, and a special treat honoring the observance of religious occasions.

In Germany, stollen is a longstanding Christmas tradition. And while each region has its own variations, Dresden stollen has emerged as the de facto standard. So herewith, a recipe that produces a traditional German stollen that’s impossible to stop nibbling.

Yield: Two 2½ lb. (1.15 kg.) loaves

Sponge:


Volume
Ingredient Ounces Grams

Baker’s
Percentage

1 cup Milk 9.00 250 25%
2 Tbs Instant yeast 0.80 24 2%
1 Tbs Granulated sugar 0.35 10 1%
2 cups AP flour, unsifted 9.00 250 25%

Dough:

6 cups AP flour, unsifted 26.50 750 75%
⅔ cup Milk 5.30 150 15%
½ cup Granulated sugar 4.10 115 12%
2⅔ sticks Unsalted butter, room temp 10.60 300 30%
2 Large eggs, beaten 4.05 115 12%
½ tsp Table salt 0.10 3 0%
1 Tbs Rum 0.50 15 2%
1¼ cups Golden raisins 7.00 200 20%
½ cup Candied citron, diced 3.50 100 10%
½ cup Candied orange peel, diced 3.50 100 10%
1 cup Chopped blanched almonds 5.30 150 15%
1½ stick Melted butter, for topping 5.30 150 15%
2½ cups Powdered sugar for topping 10.50 300 30%
  1.  Heat the milk until warm to the touch, dissolve the yeast and sugar and add to the flour, hand mixing until smooth. Cover and let stand about 20 minutes, until very bubbly.
  2. In the bowl of a stand mixer, combine the sponge and all the dough ingredients, mix 6-8 minutes at low (KA 2) speed, using the dough hook. Turn the dough onto a well-floured work surface and knead in the fruit and nuts until evenly distributed throughout the dough.
  3. Form the dough into a ball and transfer it to an oiled bowl. Cover with plastic wrap and let rise until doubled in bulk, about 1 hour.stollen-dough
  4. Preheat your oven to 400°F. Turn the dough onto a lightly floured work surface, punch it down and divide it in two equal sized pieces. Form each piece into a long flat loaf and place on a parchment lined sheet pan. Let the stollen rest for 20-30 minutes.
  5. Put the stollen in the oven and bake for 12 minutes at 400°F, then lower the temperature to 350°F and continue baking for another 30-40 minutes, taking care not to let them get too brown.
  6. Remove the stollen from the oven and immediately brush them generously with melted butter, then use a sieve to give them a thick coating of powdered sugar. Repeat twice more and let the stollen cool in the pan.
  7. When cool, wrap them in aluminum foil or place them in an airtight container and let them rest, unrefrigerated, for 1-2 weeks before serving.

Stollen-finishedNOTE: Feel free to substitute various fruits and nuts for those called for in the recipe.  Prominent German baker-blogger Wolfgang Suepke, for example, recently posted a recipe for Cranberry-Walnut stollen, and is a huge booster of Thuringia-style stollen (he’s from Erfurt, in the heart of Thuringia). So enjoy and Season’s Greetings!


No Honey Cake This Year

strudelThis year, for the first time in a long time, I didn’t bake honey cake for Rosh Hashanah. Not because I don’t love it; I do. I love the sweet-sour spiciness of the fruity-sweet, slightly sour honey; the fragrant bite of cinnamon, nutmeg, ginger and cloves. I love the firm consistency that reminds me of a fruit cake, but without the fruit. I love the way the top crust of my rye-flour honey cake softens after a few days and turns into a caramel-like self-frosting that melts in my mouth and carries with it the concentrated essence of sugar and spice. And I love the idea that by baking a honey cake, I’m carrying on a tradition that has bound Jews together, across centuries and generations.

But no, I didn’t bake honey cake this year. Why? Because my wife and I wanted something different for Rosh Hashanah; something equally sweet and equally special, something equally evocative of the holiday and of our European roots. I baked an apple strudel.

We chose apple strudel for many reasons, some practical, some symbolic. On the practical side, stretching the strudel wrapper is an adventure akin to magic. I’m enthralled by the idea – and the reality – of transforming a few ounces of dough into a nearly transparent membrane the size of a kitchen table and filling it with fresh apples, sugar, raisins, walnuts and spices that have macerated for hours.

stretchstrudelThen there’s the wonder of rolling the strudel. Few baking experiences can compare to rolling a strudel, starting with the first fold over the filling, and then gently pulling and lifting the tablecloth on which I’ve stretched the dough so that the strudel rolls itself, like the body of a snowman, without the damaging interference of hands and fingers. The aroma of baking strudel  – the same honey-cake perfume of cinnamon, cloves, ginger and nutmeg, but with the added fruit-sweetness and subtle tang of cooking apples, brings its own aura of sweetness in the coming year.

On the symbolic side, this year’s baking united us with generations and traditions past. It brought me closer to my late grandmother, my bubbe, who came from a shtetl southeast of Warsaw and who, as my father recalled to me many years ago, rolled her strudel on a tablecloth in the kitchen I remember so well.

rollstrudelFor my wife, Sylvia, it brought back memories of her mother, Gertrude, who grew up in a town called Judendorf (Jew-town) just outside of Graz, in eastern Austria. My late father-in-law fled the Holocaust in 1938 and returned to his native Austria with the U.S. Army. There, he met and married Gertrude and brought her back to Philadelphia right after the war. She, too, baked strudel, stretching her dough thinner than paper, filling it, rolling it with a tablecloth.

I made the strudel for a family of close friends who came to celebrate the New Year us, and especially for the patriarch, Laszlo, whose family survived the Holocaust in Budapest and escaped to Canada following the Hungarian Uprising of 1956.

When it came time for dessert, we served the strudel warm, dusted with powdered sugar. We ate, our stomachs full and our eyelids heavy with wine and food. The dining room was filled with contented laughter and the sweet smell of apples and spices. Around us, as if borne on that fragrance, hovered the spirits of those we loved and had lost, enfolding us with their warmth and bestowing their blessings for a sweet and prosperous year.

Sour Notes

Wheat sour at 8 hours

Wheat sour at 8 hours

It never fails to amaze me how a lot of home bakers, especially newbies, turn their sourdough starters into objects of obsessive-compulsive desire. Recently, in fact, I was bemused to read a sourdough neophyte’s post in which he mentioned, with as dead a pan as Grant Wood ever painted, that he was feeding his established sour twice a day. Twice a day!!! And people wonder why their breads don’t get sour enough.

Or how about the endless debates on which flour is best for feeding a yeast culture – as if those cute little eternally hungry fungi care where their next meal is coming from, or whether it’s the carb equivalent of filet mignon or pâte de Dumpster.

And another thing: sours localize. After about the fifth or sixth feeding, that authentic SanFran culture – Saccharomyces sanfransiscensis, for all you yeast nerds out there – that you shelled out big bucks for has been completely replaced by your local wild yeast, which you could have gotten for nothing simply by building a starter from scratch (of which more in another post).

Wheat (top) and Rye (bottom) at 5 weeks. Note the absence of hooch.

Wheat (top) and Rye (bottom) unfed for 5 weeks. Note the absence of hooch.

I’ve always been of the opinion, and the facts bear me out (as you shall soon see) that those splendid wild yeasts and their lactobacillius symbiotes can take far rougher treatment than a lot of us give them credit for and still remain robust and ready to leaven at a moment’s – well, several hours’, actually – notice. After all, the airborne yeasts and bacteria in which we respirants swim have to survive not only warm weather, when naturally occurring carbs abound, but also the carb-famine cold months. Their survival is a testament to evolution and the vitality of the meanest and sourest.

As a case in point, take my sours (please!), one rye and one wheat, which I haven’t coddled, overfed, or even given cute names, as have some hardcore breadies. To me, they’re simply fungal-bacterial-enzymal ménages à trois, teeming with ever-ravenous microbes, that have found a home in my fridge. I feed them when I (a) want to bake sourdough, (b) remember to do so, or (c) when my conscience gets the best of me.

Rye (left) and Wheat (right) after feeding and ready for their nap.

Rye (left) and Wheat (right) after feeding and ready for their nap.

Nor do I agonize over their next meal. While I confess that my love of Jewish rye compels me to feed my rye sour with white rye flour only, I give my wheat sour whatever I have on hand, whether it’s first clear flour, bread flour, AP, or even (gasp!!!) cake flour. In fact, cake flour makes a pretty good nutrient for established sours, since it’s so rich in complex carbs (read = starches), which all those enzymes – maltase, amylase, diastase – will happily break down into the simple sugars that their yeasty roommates crave. The yeasts, in turn, throw off CO2 and alcohol, on which the lacto get high and return to the mix as lactic and acetic acid. The one thing I do pay attention to, though, is hydration, which I scrupulously maintain at 60% for the wheat and 80% for the rye.

After 3 hours.

After 3 hours.

A balanced and robust sour needs time to develop – not a huge amount; maybe a couple or three days. So to me, overfeeding not only is wasteful, it’s actually counterproductive. Rather, I want to give my microbial pals the chance to work their magic and send it around the food chain so that all of us can eat well, live long and prosper.

Refrigerating slows the process down, giving us an enormous amount of control over our sours.  Those little yeasty beasties are busiest at 80°F to 100°F (27°C to 38°C), and go into near-idle mode at refrigerator temps of 38°F (3°C) or so. At those same temperatures, the lactobacilli also doze off, but remain active enough to produce small amounts of acid: the longer my starters sit in the fridge, the sourer they become.

At 6 hours.

At 6 hours.

So there it is: call me a fungus abuser if you will, but I’ve found that those little guys do just fine as long as I keep their environment cool and moist and throw them a carbo-bone every once in a while. In the meantime, they sit patiently by in my fridge, waiting to play their critical role in my next batch of sourdough; and if I take more time between bakes than other bakers, they never complain. A nice feeding, given a day or two before I mix my dough, resuscitates them and keeps them happy as mushrooms on a rotting log.

My sours are loyal retainers who’ve never failed me: perhaps I should give them names after all – something endearing, like Popeye and Olive, or maybe just Wheat and Rye.

Chocolate Porter Bread

PorterBreadAfter 25 years of hobby brewing, a friend of mine opened a brewery of his own. Lightning has since become one of the best in San Diego county, which is known far and wide as a hotbed of world-class craft beer. Jim focuses on European-style beers — everything from crisp, beautiful lagers and German-style wheat beers to French farmhouse ales and the deepest of deep dark porters (some of which he’s barrel-aged for even more texture). I love everything he makes, and we’ve spent hours discussing the finer points of yeast, grain, enzymes and the idiosyncrasies of lacto- and acetobacillus.

A while back, after weeks of thinking about it, I took a stab at using one of his beers, Black Lightning porter, to make bread. The beer itself is very, very rich, with layers of malt, chocolate, hops and toast. The result was a wonderfully sweet and malty loaf with a moist crumb and luscious finish that had a distinctly hoppy edge.

The formula:

16oz of porter (boiled to remove the CO2 and kill the beer yeast, then cooled to room temp)
4oz water
12oz unbleached bread flour
10oz stone ground whole wheat flour
3oz unsulphured molasses
1 oz honey
3/4 oz fresh compressed yeast
1/2 oz salt.

Combine all the ingredients in a mixer, knead 5-6 minutes at low (KA 2) speed.
Ferment 60 min ferment, shape into loaves and proof another 45min
Bake with steam on a stone preheated to 500F for 10 min, steaming again after 3 min, then reduce to 450F for another 12-15 min.
The loaves will be done when they reach an internal temp of 205F and sound hollow when tapped gently.

A Tale of Two Flours – Caputo 00 Pizzeria vs. Pivetti 00 “Mimosa” (4/5/2012)

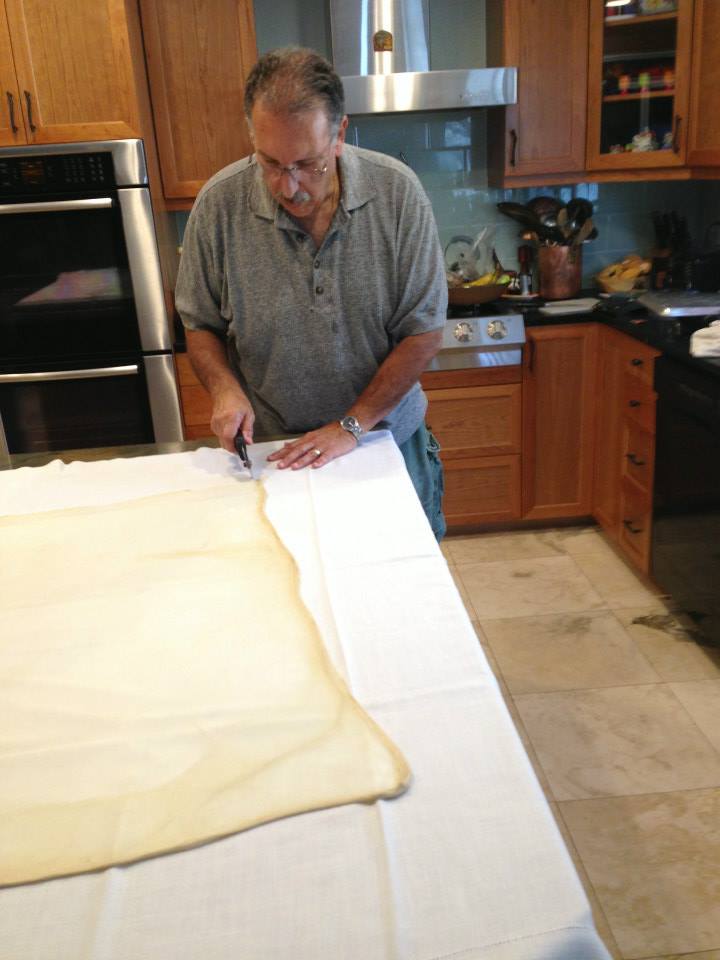
When I started The New York Bakers (www.nybakers.com) a little over 2½ years ago, my goal was to offer home bakers the broadest range of non-bleached, non-bromated professional flours I could find.

PizzaTipo00_1I didn’t know what I was in for: there are dozens of professional flours out there. Despite all that apparent clutter, most commercial flours are variations on four main classes– high-gluten (14% protein), bread (12½%), pastry (9½%) and cake flour (8%). I also discovered that the vast majority are produced by a handful of mega-millers – think General Mills, ConAgra (which also produces for marketers like King Arthur, Giusto’s and Capitol) – and an equally small number of mid-tier mills, like Bay State and Pendleton Flour Mills. And then there are the small mills, like Heartland and Central Milling, that produce premium flours for artisan bakers.

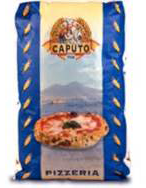
One category that I really wanted to carry was imported Italian Tipo 00 pizza flour – and, of course, the flour I wanted was Caputo, which everything I read described as the ultimate pizza flour, straight from Naples, the epicenter of the Vera Pizza Napoletana (VPN) universe. So out I went to locate a distributor.

caputo00-2I found one in LA (despite our name, we’re in San Diego) – actually a bit south of LA proper in Vernon, which is completely industrial: no one actually lives there. So I phoned them and talked to one of their sales folks, who said, “Yeah, no problem. We have the Caputo, so come on over and pick it up.”

So into my car for the 2-hour (optimistically) trek on the SoCal freeways up to Vernon. I have to admit, I was really excited. After all, everything I’d read told me that Caputo was the Holy Grail of pizza flours. So imagine my shock and disappointment when the warehouse guy comes back with several red, white and blue bags that said “Pivetti” where “Caputo” should have been.

“No worries,” said the sales guy when I went back to the office to talk to him. “They’re virtually indentical. Besides, we have lots of customers who love the Pivetti.”

What was I to do? I took the Pivetti, drove back down to San Diego and changed my product lineup to read “Pivetti.”

pivetti
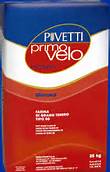
Then I did some research and learned that the Pivetti mill, which has been owned and operated by the same family for over 130 years, is in Modena, in northern Italy, well away from Bella Napoli, and a city best known for its balsamic vinegar, sausage-stuffed pig feet called zampone (not to be confused with the hockey ice machine), and native son Luciano Pavarotti. “Drat,” I thought to myself, “what do those northern Italians know about pizza?”

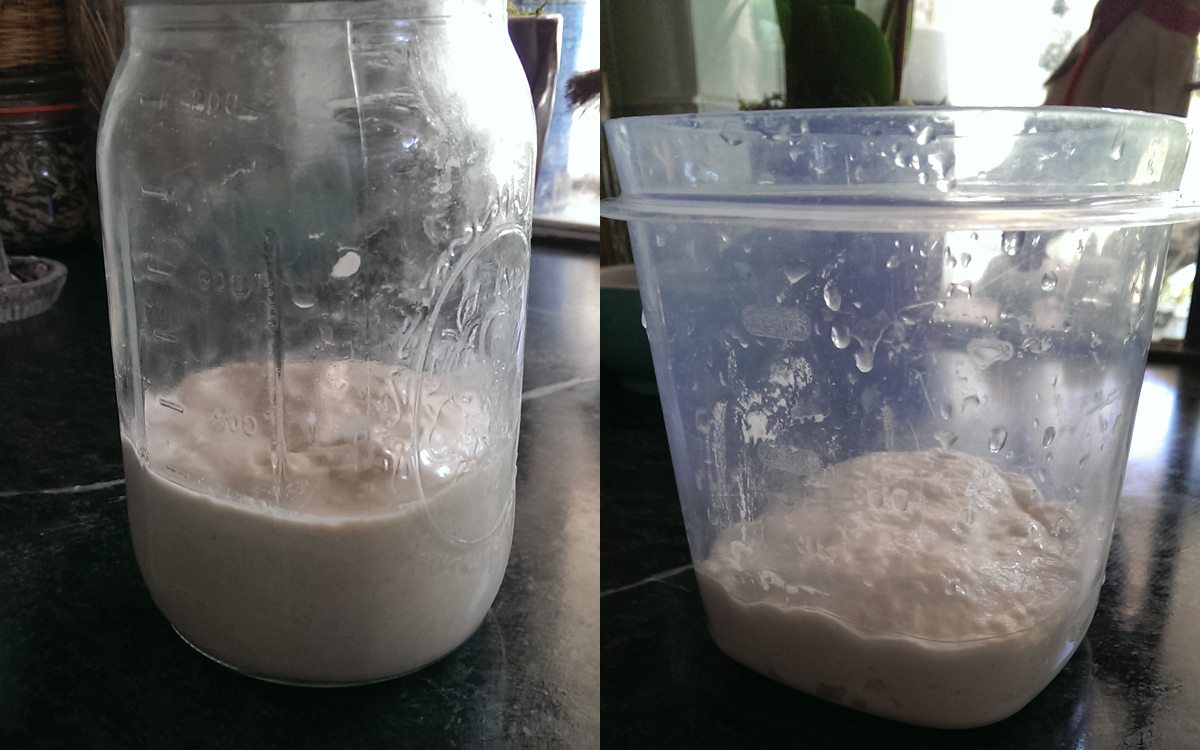
Of course, I hadn’t tried the stuff yet – in fact, I’d never used any authentic Tipo 00 flour – so I proceeded to do so. I used the classic formula for VPN, which was 58% water, 2% salt, 0.3% fresh yeast, no bulk fermentation and cold retardation of 12-18 hours.

Well, I was blown away. I had been using high-gluten flour, mainly GM All Trumps at 75% hydration and with 5% olive oil, for my pizza doughs, and constantly found myself struggling with tearing. The Pivetti was pure pleasure, even at that low hydration level. The gluten was well-developed, but the most extensible I’d ever worked with: when I stretched it, it stayed stretched, and I could get a 16-inch pizza out of 10oz/280g of dough. I could literally read a newspaper through that crust. So I was a happy camper.

But I couldn’t stop thinking about the Caputo. One of my customers in Arizona found a distributor there and started using the stuff. She told me that it was more elastic than the Pivetti, and held its shape better. I was tantalized, like the kid at a store window filled with imagined candy.

Finally, a couple of months ago, my supplier told me that he had the real-deal Caputo in stock and would I be interested. I think I broke the speed limit on my way back up to LA, loaded up the car with several bags of the Caputo, plus a couple of Pivettis, and tore back home so I could try out my newfound treasure.

It wasn’t what I expected. Where the Pivetti is white and fine, the Caputo was more yellow and has what felt like a slightly coarser grind. Where I expected the same degree of extensibility, I found instead greater elasticity, comparable to a mild bread flour like GM Harvest King (12% protein) or King Arthur Bread Flour (12.7%). The Caputo formed beautiful round crusts, with a well-defined edge, but the gluten was really evident.

Here’s how they compared in my test bake:

Raw flour: The Pivetti flour is a very pale yellow, nearly white, with a very fine grain. The Caputo has a somewhat coarser grain (although still fine, since 00 refers to the grain size and not protein/ash content), and a definite beige/ light brown color.

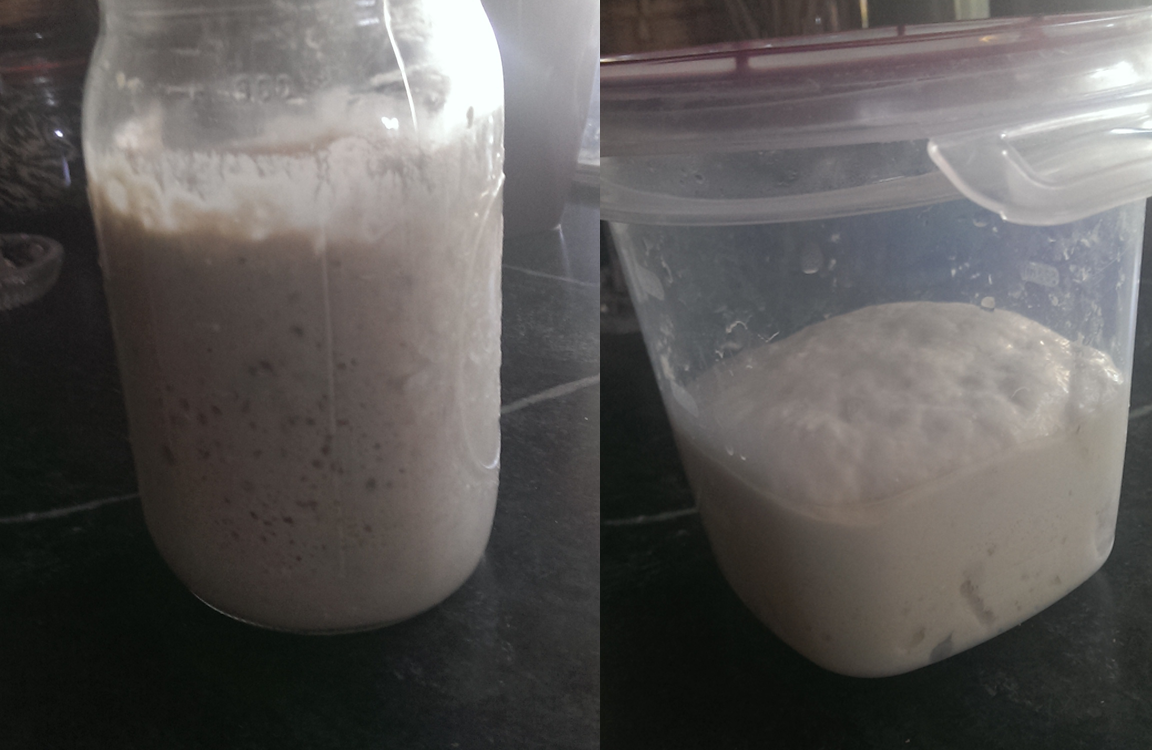
Mixing: The Caputo is definitely thirstier than the Pivetti. At 58% hydration, the Caputo formed a much stiffer dough — to the point where my KA Pro was laboring on the dough hook. Not so with the Pivetti, which produced a smooth, fairly slack dough.

Benching:  I rested both doughs for 20 minutes before dividing it into 280g  boules and put each into a lightly oiled plastic sandwich bag.  The dough then went into my wine cooler for 10 hours.  The Pivetti dough increased in size more than the Caputo and was slightly softer to the touch.

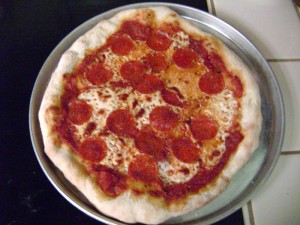
Throwing the pizza: Both doughs rested at room temp for 2 hours.  My technique was the same for both doughs: cutting the sandwich bag away so as not to disturb the dough, flouring both sides and using my fingertips to stretch the middle, then shaping the pizza by putting the rim over my knuckles and stretching it to about 16″ in diameter – thin enough to see light through the center.  I then put the dough onto a floured peel, dressed the pizza and baked at 550F for about 6 minutes.

Both doughs were quite extensible, the Pivetti moreso because its protein content is clearly lower than the Caputo, which almost felt rubbery and very firm. That said, both doughs threw very nicely, with a nod in the direction of the Caputo for ease of forming a more uniform circle.

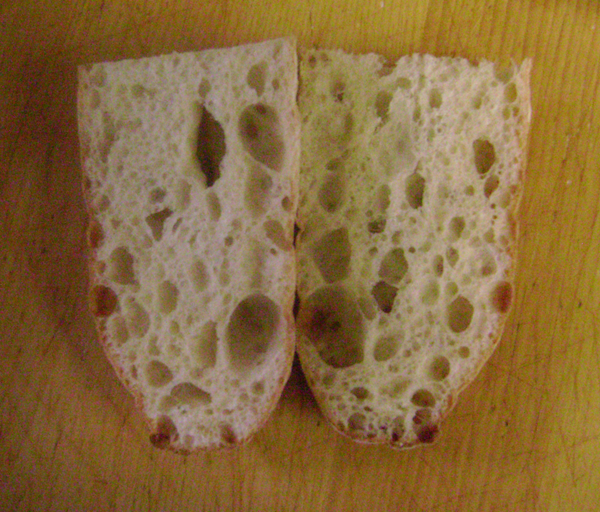
The crust: The Caputo crust was denser, chewier and more flavorful than the Pivetti, which sprang nicely in the oven, leaving big air pockets in the rim.  Both crusts were thin and crisp, and biting off a piece of the Caputo pie took more effort than the Pivetti. At the same time, the Caputo didn’t seem to hold up under the weight of the toppings as well as the Pivetti, so there was more sag when we picked up the slices. That said, both crusts had distinctive personalities and were excellent in their own way,

Verdict: If you like a chewy crust, not unlike good American pizza (emphasis on good), the Caputo wins hands down. My family and I prefer a crisper, less chewy crust, and the unanimous winner in my house was Pivetti.

Fortunately, you can find both at www.nybakers.com
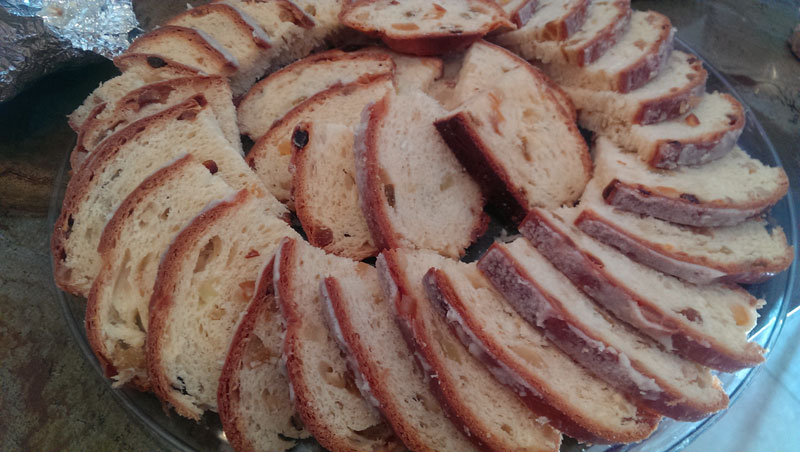
At Last, the Baguette Crumb I’ve Been Chasing (1/5/2012)

Finally, I got the crumb I’ve been looking for, and it came about by accident.

To enlarge the crumb, I’ve been gradually reducing the kneading time, lowering the flour strength and increasing the hydration of my baguette doughs. Finally, I got it right on New Year’s Eve, when we were having some friends over and decided that crostini would be on the menu. My wife and I were both very busy that day and I was in a rush to get the bread done, since one of our ovens went on the fritz the day before (naturally!) and so we only had one oven to work with and lots of baking.

baguette-crumbTo make a long story even longer, I mixed the dough (Giusto’s Artisan Flour, 75% hydration, 2% salt, 1% IDY) in my KA and worked it under the paddle for about a minute, when the dough started coming together and the gluten clearly was forming. Without thinking, I put it onto my kneading board, and only when it was there did i realize that I’d intended to work it under the dough hook for another couple of minutes.  “Oh, well,” I thought, “No time like New Year’s Eve for an experiment.” So I let the dough sit on the board and gave it four stretch-and-folds about 20-25 minutes apart.  The dough came up beautifully.

Handling it very gently, I scaled it to 225 g/8oz and let it rest for another 20 minutes or so before rolling it out and arranging the six loaves en couche for about 75 minutes of proofing. Oven preheated t0 500F/260C. I steamed the oven, slashed and loaded the loaves, then steamed again at 3 minutes, reducing the temp at that time to 450F/230C. Baked for about 10 minutes longer and got terrific oven spring, as the photo shows. What the  photo doesn’t do justice to is the gorgeous yellow color of the crumb.

All in all, a very satisfying bake.

Next batch will be at 80% hydration, and I’ll also see how other flours (i.e., Sir Galahad, Harvest King, La Parisienne) behave under these same conditions. Will keep you all posted.