Sourdough Borodinski Rye/ Borodinskiye Chleb

Borodinski
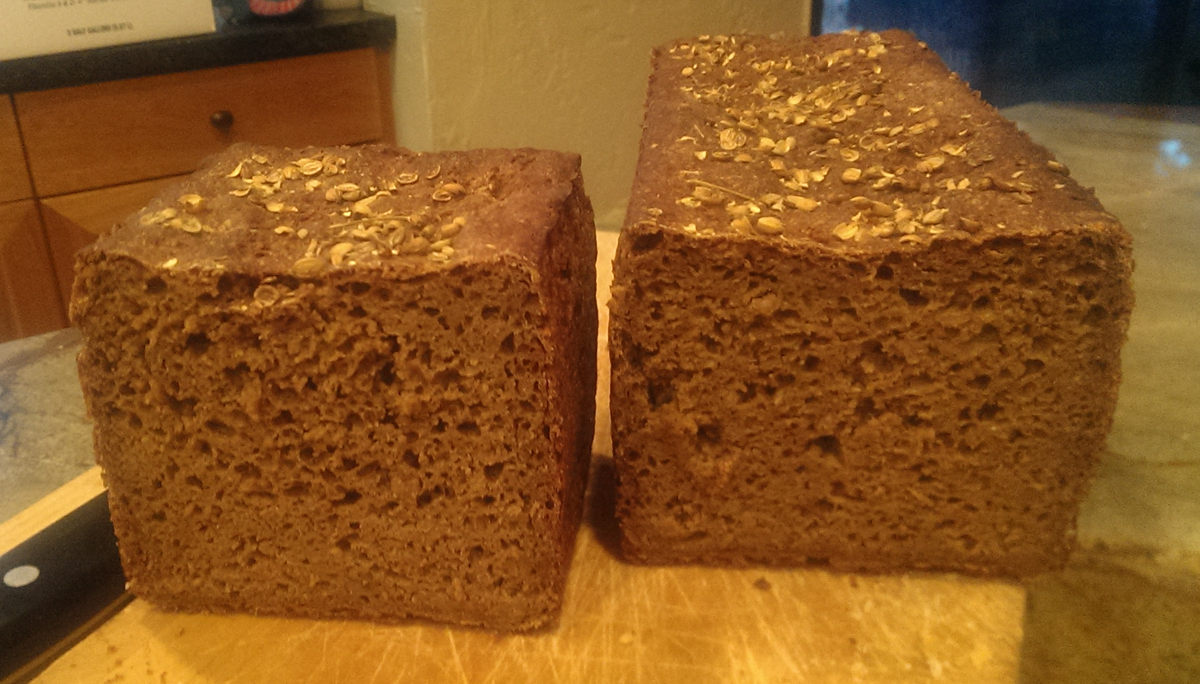
Yield: Two 25 oz. (700g.) loaves

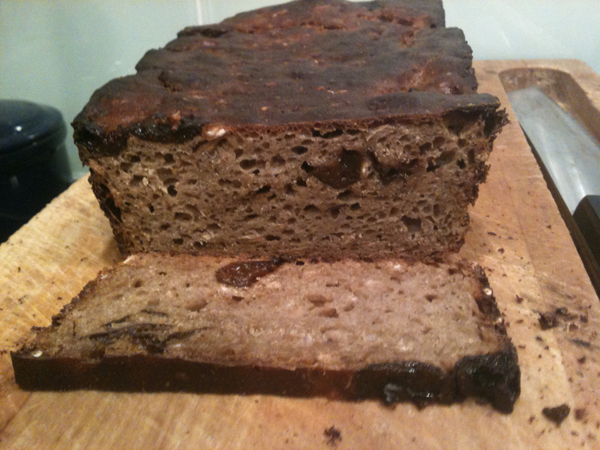
Borodinski, with its moist, open crumb and assertive coriander flavor, is arguably Russia’s best-known and best-loved rye bread. This wasn’t always so, however: in the 1920s and 1930s, Borodinski could only be had in Moscow, and those who had the choice preferred those made by Latvian bakers. With the great push toward industrialization in the 1930s, Soviet factory bakeries opened across Russia and introduced the bread nationwide.

Numerous recipes exist, some yeast-leavened, others built on a sponge. Some specify pan loaves, others hearth loaves. All, however, preserve the 80%-20% rye-wheat ratio and all use a scald containing roasted rye malt.

This recipe emphasizes the interplay between sour and coriander-infused sweetness. It takes time – nearly a full 24 hours – to bring together, but the results are well worth it.

Sponge:


Volume

Ingredient

Ounces

Grams

Baker’s
Percentage

⅓ cup Rye sour 2.10 60 8%
2 cups Medium rye flour 8.80 250 35%
1¾ cups Water 14.65 415 58%


Scald:

¼ cup Malted rye (available at home brewing supply stores) 1.25 35 5%
1 Tbs. Coriander seed 0.15 4 1%
¾ cup Coarse rye meal 4.05 115 16%
1¼ cups Boiling water 10.60 300 42%


Dough:

1⅔ cups Medium rye flour 7.40 210 29%
1 cup First clear or high-gluten flour, unsifted 4.95 140 20%
2 Tbs Unsulphured molasses 1.40 40 6%
1 Tbs Red rye malt (see Step 2.) 0.35 10 1%
1⅔ tsp Table salt 0.35 10 1%
1-2 tsp Coriander seed for garnish 0.05 2


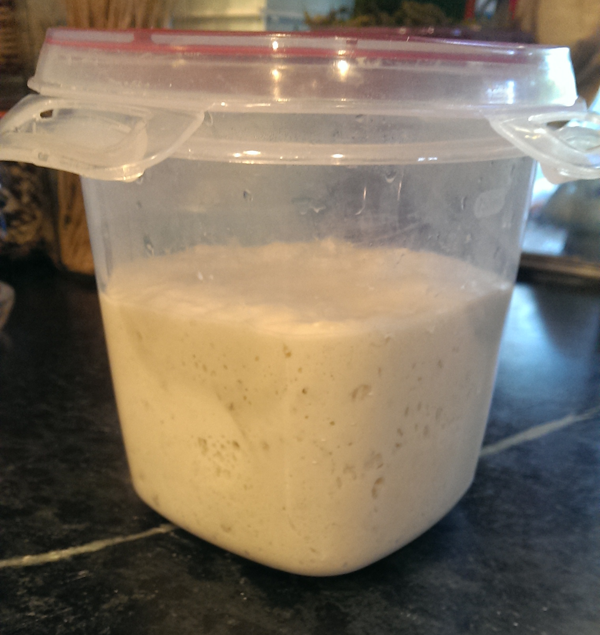
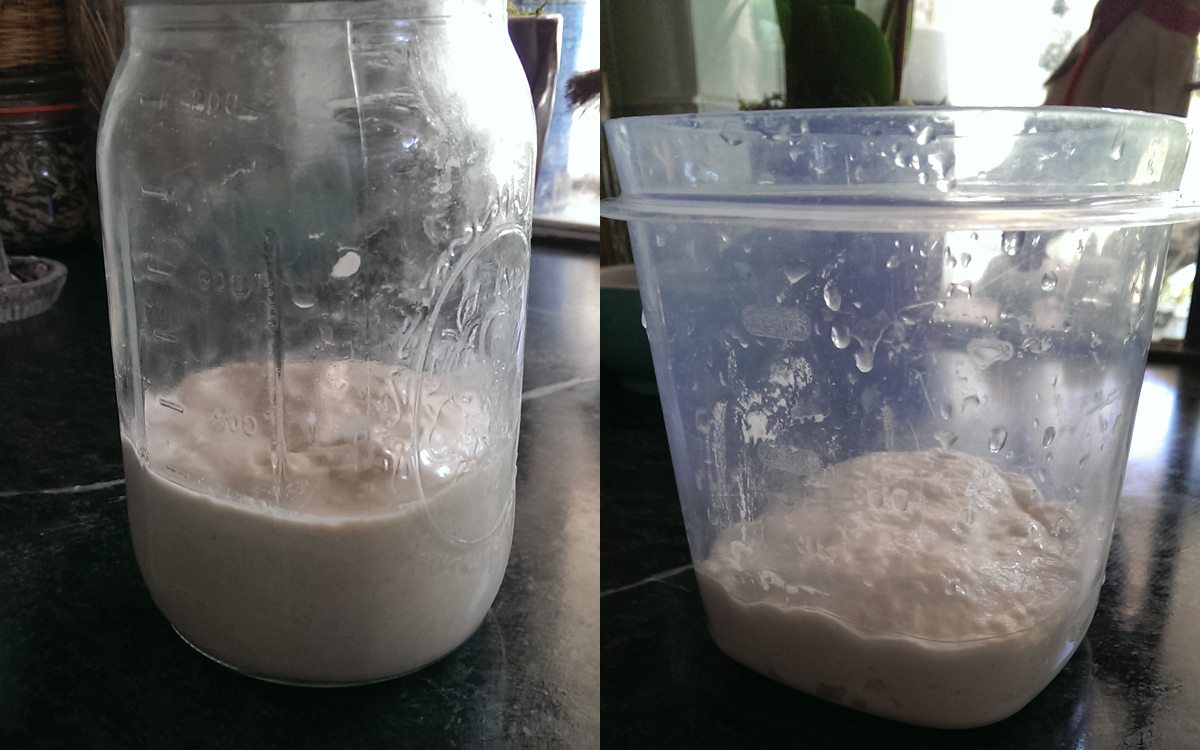
  1. Mix together the sponge ingredients until well blended, cover loosely and let stand overnight.
  2. In a frying pan, roast the malted rye over medium heat until it turns a deep rose pink, about 3 minutes, and pulverize the red malt and coriander seed in a spice grinder or mortar and pestle. Add to the rye meal and boiling water, mix until smooth, cover with plastic wrap and let stand overnight.
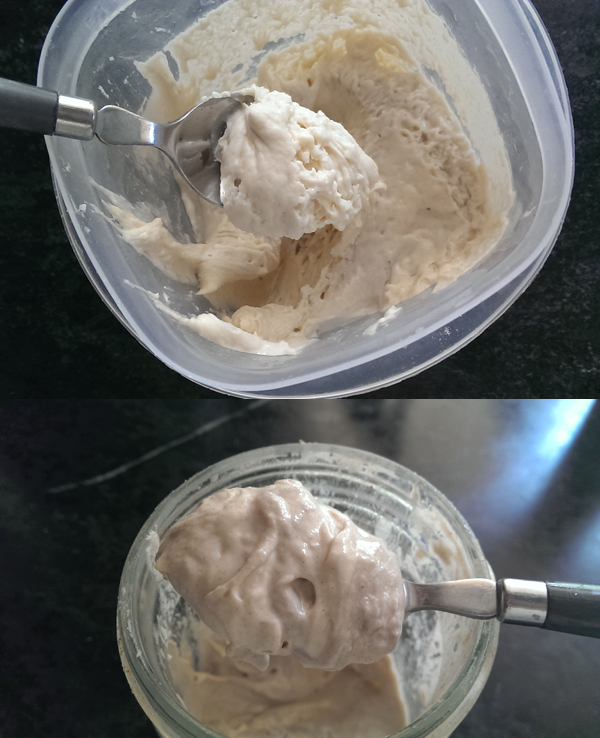
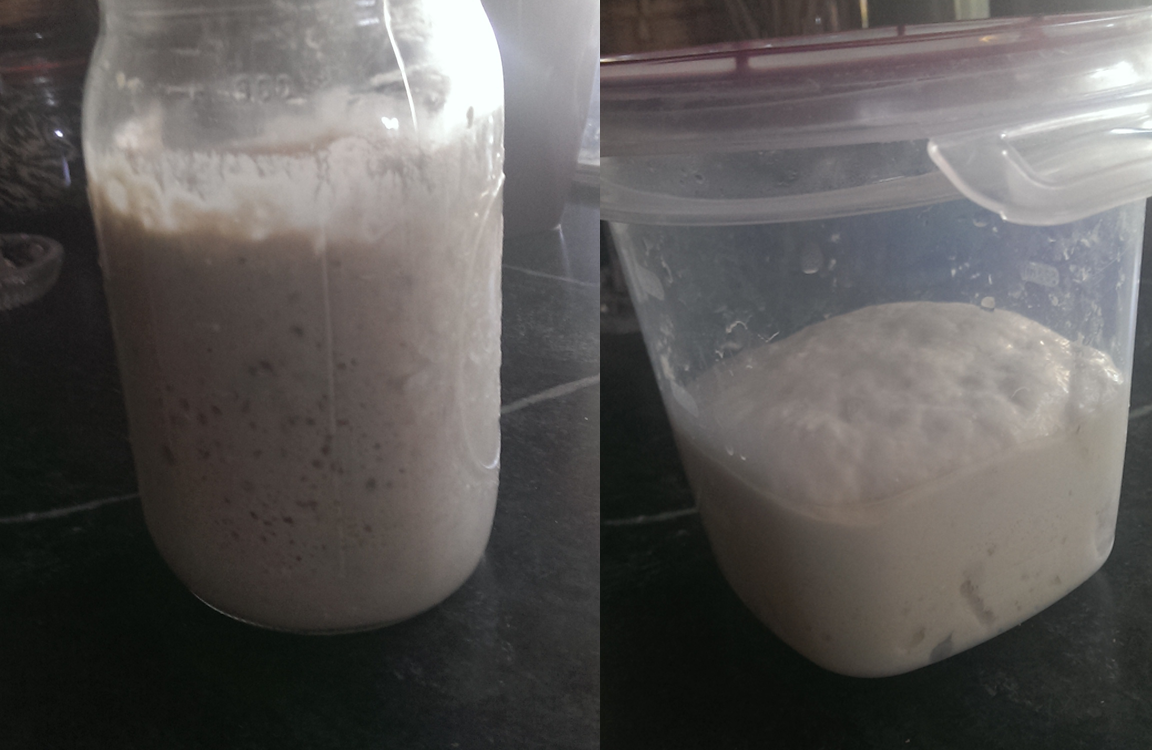
  3. The next day, combine the sponge and scald in the bowl of a stand mixer, cover with plastic wrap and set aside to ferment for 5-6 hours, until the mass has roughly doubled in bulk. Add the dough ingredients, use the flat beater  to mix at low-medium (KA 3-4) speed until you have a soft, smooth dough the color of dark coffee. Cover and let stand 1 hour.
  4. Carefully spoon the dough into two well-greased 8½” x 4½” (21 cm x 11 cm) loaf pans. Use wet hands to distribute the dough evenly and smooth the tops. Add 1 Tbs/15 ml. of water to each pan to keep the dough moist, cover with plastic wrap and proof in a warm place until the tops of the loaves show holes, about 2 hours. Garnish with whole or coarsely crushed coriander seeds.
  5. Preheat your oven to 550°F/290°C, with the baking surface in the middle and a steam pan on a lower shelf. About 10 minutes before bake time, add 1 cup/225 ml. of boiling water to the steam pan, using a silicon oven mitt to avoid burns.
  6. Place the loaves in the oven and replenish the steam pan with another 1 cup/225 ml. of boiling water. After 10 minutes, reduce temp to 350°F/175°C and cover the loaves with aluminum foil. Bake an additional 50-60 minutes, remove the steam pan and unpan the loaves. Return them to the oven for 10-15 minutes to firm the crust. Let cool thoroughly before slicing.

Sour Notes

Wheat sour at 8 hours

Wheat sour at 8 hours

It never fails to amaze me how a lot of home bakers, especially newbies, turn their sourdough starters into objects of obsessive-compulsive desire. Recently, in fact, I was bemused to read a sourdough neophyte’s post in which he mentioned, with as dead a pan as Grant Wood ever painted, that he was feeding his established sour twice a day. Twice a day!!! And people wonder why their breads don’t get sour enough.

Or how about the endless debates on which flour is best for feeding a yeast culture – as if those cute little eternally hungry fungi care where their next meal is coming from, or whether it’s the carb equivalent of filet mignon or pâte de Dumpster.

And another thing: sours localize. After about the fifth or sixth feeding, that authentic SanFran culture – Saccharomyces sanfransiscensis, for all you yeast nerds out there – that you shelled out big bucks for has been completely replaced by your local wild yeast, which you could have gotten for nothing simply by building a starter from scratch (of which more in another post).

Wheat (top) and Rye (bottom) at 5 weeks. Note the absence of hooch.

Wheat (top) and Rye (bottom) unfed for 5 weeks. Note the absence of hooch.

I’ve always been of the opinion, and the facts bear me out (as you shall soon see) that those splendid wild yeasts and their lactobacillius symbiotes can take far rougher treatment than a lot of us give them credit for and still remain robust and ready to leaven at a moment’s – well, several hours’, actually – notice. After all, the airborne yeasts and bacteria in which we respirants swim have to survive not only warm weather, when naturally occurring carbs abound, but also the carb-famine cold months. Their survival is a testament to evolution and the vitality of the meanest and sourest.

As a case in point, take my sours (please!), one rye and one wheat, which I haven’t coddled, overfed, or even given cute names, as have some hardcore breadies. To me, they’re simply fungal-bacterial-enzymal ménages à trois, teeming with ever-ravenous microbes, that have found a home in my fridge. I feed them when I (a) want to bake sourdough, (b) remember to do so, or (c) when my conscience gets the best of me.

Rye (left) and Wheat (right) after feeding and ready for their nap.

Rye (left) and Wheat (right) after feeding and ready for their nap.

Nor do I agonize over their next meal. While I confess that my love of Jewish rye compels me to feed my rye sour with white rye flour only, I give my wheat sour whatever I have on hand, whether it’s first clear flour, bread flour, AP, or even (gasp!!!) cake flour. In fact, cake flour makes a pretty good nutrient for established sours, since it’s so rich in complex carbs (read = starches), which all those enzymes – maltase, amylase, diastase – will happily break down into the simple sugars that their yeasty roommates crave. The yeasts, in turn, throw off CO2 and alcohol, on which the lacto get high and return to the mix as lactic and acetic acid. The one thing I do pay attention to, though, is hydration, which I scrupulously maintain at 60% for the wheat and 80% for the rye.

After 3 hours.

After 3 hours.

A balanced and robust sour needs time to develop – not a huge amount; maybe a couple or three days. So to me, overfeeding not only is wasteful, it’s actually counterproductive. Rather, I want to give my microbial pals the chance to work their magic and send it around the food chain so that all of us can eat well, live long and prosper.

Refrigerating slows the process down, giving us an enormous amount of control over our sours.  Those little yeasty beasties are busiest at 80°F to 100°F (27°C to 38°C), and go into near-idle mode at refrigerator temps of 38°F (3°C) or so. At those same temperatures, the lactobacilli also doze off, but remain active enough to produce small amounts of acid: the longer my starters sit in the fridge, the sourer they become.

At 6 hours.

At 6 hours.

So there it is: call me a fungus abuser if you will, but I’ve found that those little guys do just fine as long as I keep their environment cool and moist and throw them a carbo-bone every once in a while. In the meantime, they sit patiently by in my fridge, waiting to play their critical role in my next batch of sourdough; and if I take more time between bakes than other bakers, they never complain. A nice feeding, given a day or two before I mix my dough, resuscitates them and keeps them happy as mushrooms on a rotting log.

My sours are loyal retainers who’ve never failed me: perhaps I should give them names after all – something endearing, like Popeye and Olive, or maybe just Wheat and Rye.

Polish 100% Rye Bread with Prunes (Chleb zytni ze sliwka)

As many of you know, I’ve been fascinated with rye for years (am working on a book about it). Here’s one of my faves, a wonderfully flavored, wonderfully simple Polish rye made with prunes.

Yield: Two 21.5 oz./610 g loaves

Plum_rye_crumb

Ingredient Volume Oz Gr Pct
Sponge Rye sour 1 cup

6.70

189

34%

Water ½ cup

4.00

113

20%

Medium rye flour 1¾ 2 cups

8.20

235

42%

Dough Coarse rye meal ½ cup

2.40

70

12%

Medium rye flour 2 cups

8.80

250

45%

Water 1 cup

9.50

270

48%

Granulated sugar 2 Tbs

0. 80

22

4%

Table salt 2 tsp

0..0

12

2%

Pitted prunes ½ cup

3.00

85

15%

1. Combine the sponge ingredients and let stand at room temp overnight.

2. Combine the sponge and the dough ingredients, except for the prunes, and mix until smooth and evenly hydrated. Ferment at room temp for 5-6 hours.  The dough will be very bubbly.

3. Soak the prunes in warm water for about 30 minutes, dry them on paper towels and chop coarsely. Fold the prunes into the dough, divide into well-greased loaf pans and let proof about 2 hours at room temp, until the top of the dough shows bubbles on top.

4. Preheat your oven to 45oF/230C with the baking surface in the center. Brush the loaves with water and bake with lots of steam for 10 minutes, then reduce the temp to 400F/200C and bake for another 40-50 minutes, until the loaves are nice and brown.

5. Brush the top crusts with boiling water as soon as you remove them from the oven and let cool for at least 12 hours before cutting.

Plum_rye_loaf

Posted in Rye